Tips and Tutorials

Docker images and how to run them

If you’ve been looking for the chance to get started with Docker but haven’t had the time to find out where, then this article is for you.

If you haven’t heard of Docker yet, pay close attention to the next section.

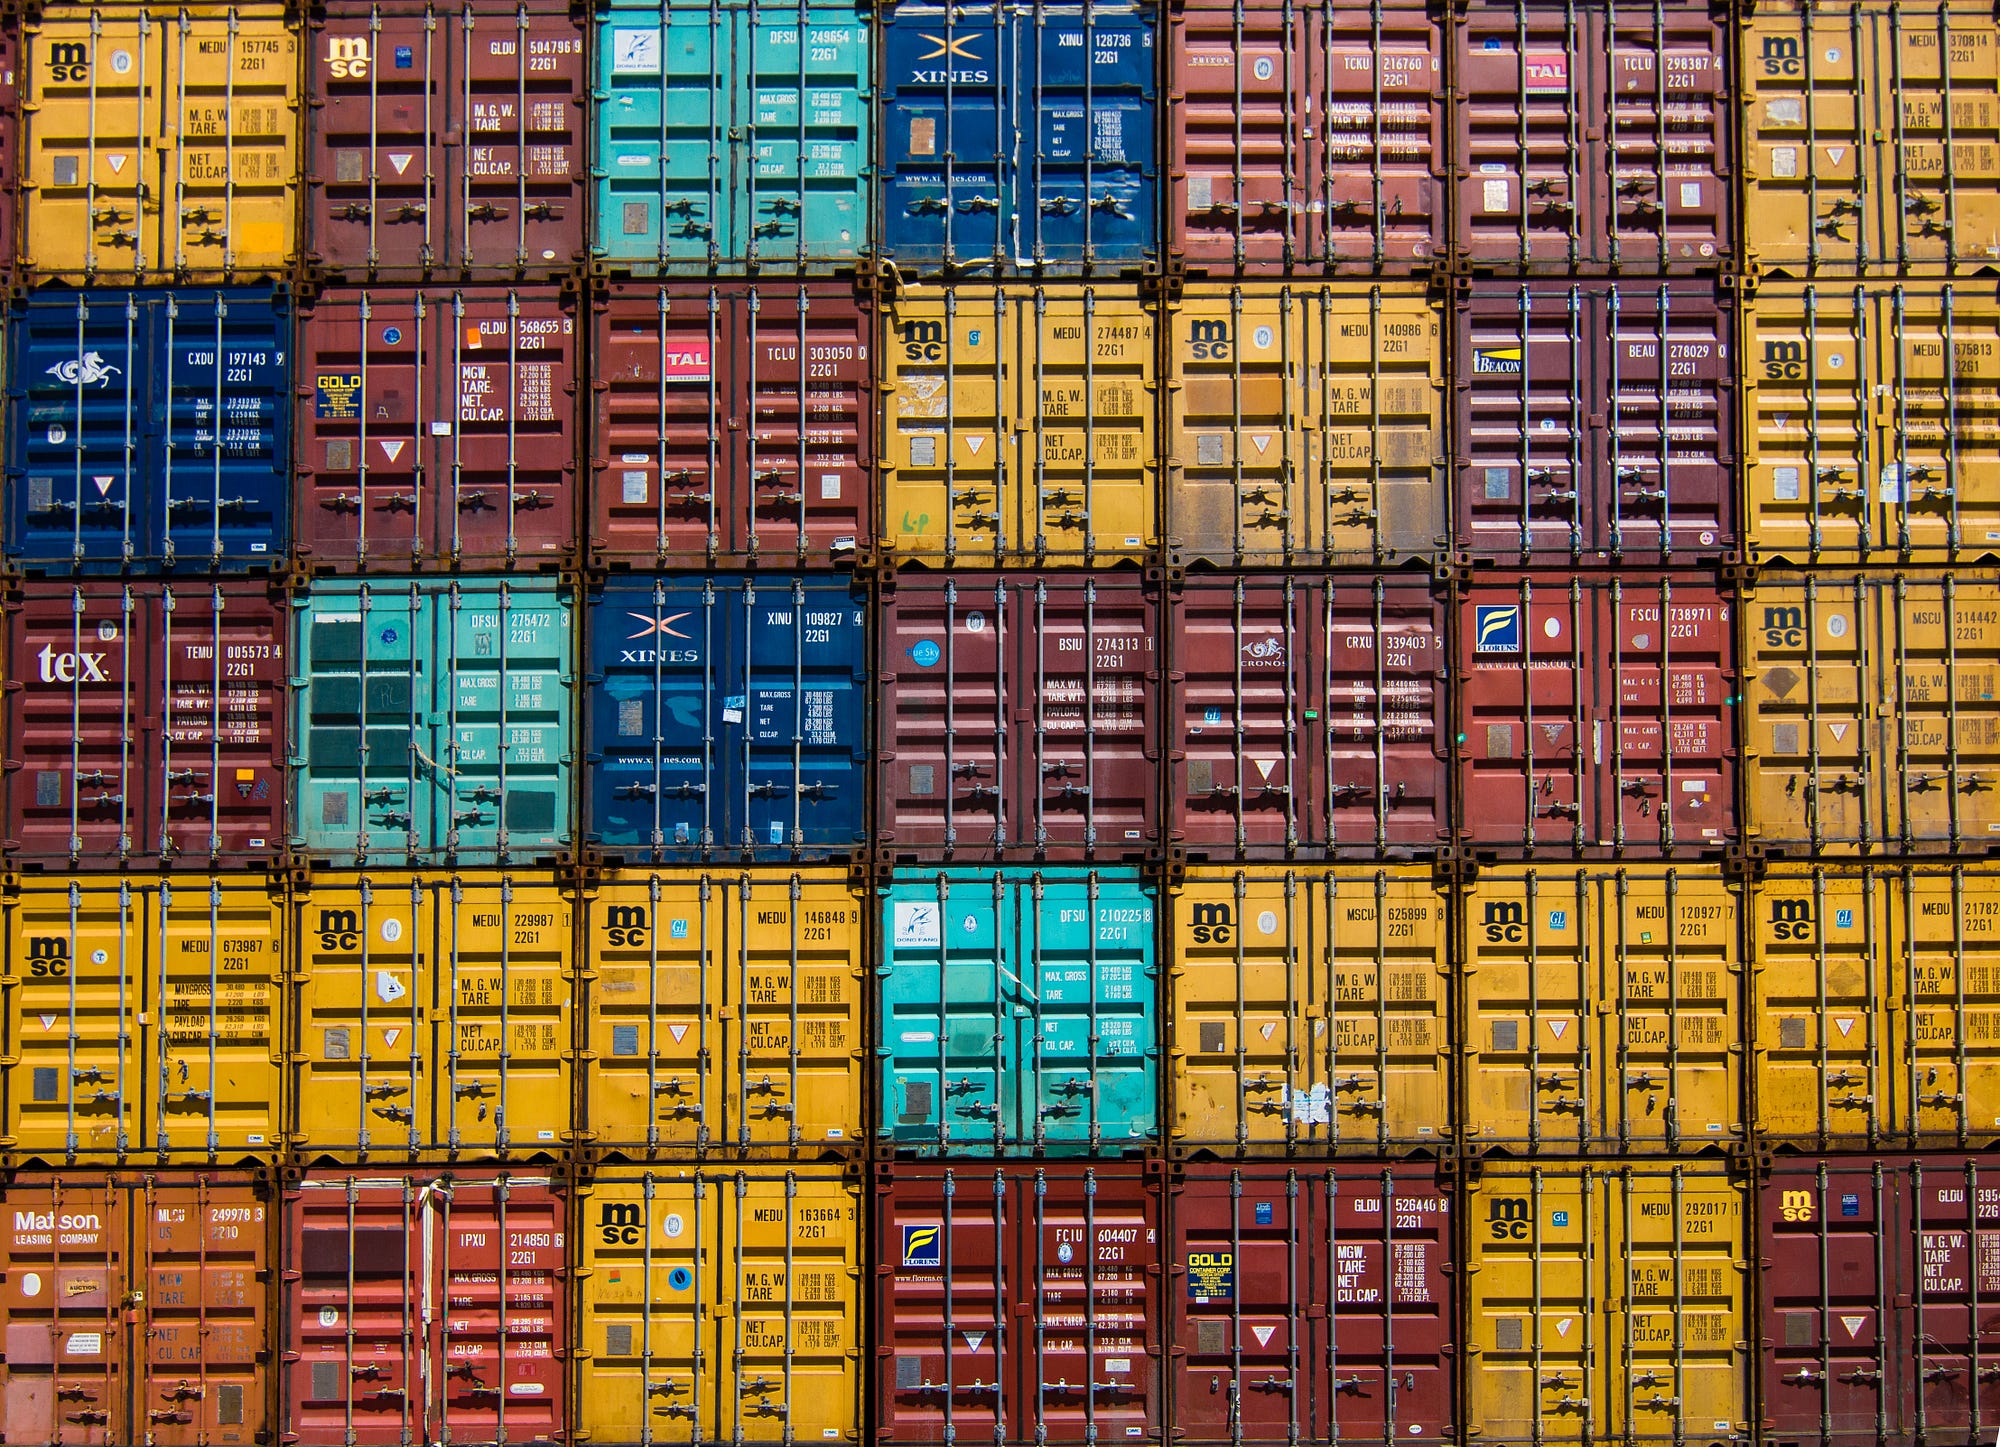
“stack of cargo trailer” by Guillaume Bolduc on Unsplash

What’s Docker?

Docker is software used to run virtual operating systems. This level of virtualization enables portability of settings, installed software, and users while staying lightweight. You can refer to these virtualized operating systems as containers. And, in the same way a container ship manages shipping containers, Docker lets you use your computer to manage and run containers.

Downloading Docker

If you don’t already have Docker on your machine, head on over to their getting started guide and do so.

Pulling an Image

To use a container, you’ll need Docker images to run. Although you can build your own images, let’s keep things simple and pull one from Docker hub. Let’s pull open a terminal and do that now:

Ok, so you may be saying “You expect me to blindly copy a command from the internet and run it in my terminal?” …ok maybe not… either way, let’s break it down and give you some piece of mind. Consider the following:

pull downloads the image specified in the options. In the command above, we’re downloading the hello-world image.

Before we talk about what latest means, we have to talk about tags. Let’s take a few steps back. An image name in the docker pull command is actually referring to a repository. Repositories have multiple images. You can pin a tag after the repo name to pick the exact image that you want to pull from a repository. They tend to be used to define version or as selectors for some image variant. In our case, we are grabbing the latest version of the hello-world image.

We can verify the install with:

Running docker image ls to reveal the hello-world image is installed

Running a Container

So far, we’ve managed to use up some of your hard earned computer storage. Let’s get into the meat of what docker has to offer and run this thang:

So we see some similar things like hello-world:latest specifying our image and a tag. It’s good practice to be explicit with computers because, when it’s up to them, they don’t always make the choice that you’d want them to.

Woah, what about the –rm though?

The simplest kind of image will perform some task. Once it’s done, you no longer need much of the results. By default, run will create a container from an image and keep it on your file system. If you need to debug the results of simple images or need the resulting container to persist that state, you can remove the –rm. I tend to design my images to not need containers sticking around.

If you haven’t run the container yet, do so now. You should see a friendly hello from the good folks at Docker as well as a reassuring message that you’ve installed Docker correctly.

You can then verify that you’ve cleaned up after yourself with docker container ls -a and see that there is no container listed using the hello-world image.

But Wait…There’s More!

If you or your company needs somebody with docker chops, come chat with us. We also have many other skills in the Dev Ops space.

You can stay informed on all of our posts by subscribing at the bottom of this page.

Easy Icon Generator For React Native

New icons living happily in XCode

A simple Javascript tool for creating, editing, generating and placing all icon assets into a cross-platform React Native project

Try it out

Clone this repo into your project: https://github.com/animallabs/react_native_icon_generator

In your Xcode project add a blank icon set:

Easy icon generator react native animal labs agency

Right click in the left column

npm i

node scripts/make_icons.js

node scripts/make_icons.js - for an alternate staging / dev mode icon

Edit project_name in scripts/config.js to reflect the name of your project

Like magic, you now have icons


Much of our work is in building proof of concept and early stage apps to demonstrate the viability of new products and ideas. With our requirements of speed and multi-platform deployment React Native is the clear choice.

When we’re prototyping an app we focus on the core functions and leave most of the extras for another future milestone. Despite this fast-moving approach, I really don’t like to send a deliverable to a client with the icons looking like this:

Default iOS icon

Default Android icon

Unfortunately, and as many of you know, the process of creating these icons is tedious and frustrating.

Our projects often have a staging/dev version and a production version generated from the same codebase. When pushing these apps to beta testers it’s really great to provide unique icons to distinguish staging from production.

After much tedium and gnashing of teeth, I’ve built what I think is a very slick icon generator using Photoshop and the Sharp JS image processing library. https://github.com/lovell/sharp

Drop this folder into your React Native project in the root directory, run ‘npm install’ or ‘yarn’.

Add this line to your package.json file to keep things nice and easy.

“makeIcons”: “node iconGenerator/scripts/make_icons.js”

If all goes according to plan, this script will quickly generate all the icons you need.

What’s going on in here…

Photoshop Asset Generator

Photoshop includes a little-known asset generating feature that I highly recommend. The idea is that by naming a layer or group like this:

1024x1024 master_icon.png

photoshop will automatically generate this .png file at the specified resolution every time the file is saved.

If you want to get really advanced you can create text files in your repo like this:

1024x1024 master_icon.png 500x500 master_icon_500.png 200x200 master_icon_200.png 100x100 master_icon_100.png

and paste them into your Photoshop layers to get a variety of sizes.

Smart Objects

Another slightly advanced photoshop technique. Basically, we’ve got two groups in Photoshop that both reference the same “Smart Object”.

To edit the master icon, edit this Smart Object. You have two groups in the .psd file, one for exporting the production icon and another for a staging / dev icon. You can add overlays and modifications to the staging layer group in Photoshop and the modifications will not affect the master icon export.

iOS Method

First, the script reads your ‘Contents.json’ file stored in

{project_name}/Images.xcassets/AppIcon.appicon

After parsing out the required sizes from this file, the master icon is copied into `temp_output`, copied and resized to the requisite sizes, and finally, the images and modified Contents.json are dropped into the correct iOS folder locations.

XCode should pick up these changes automatically and you’ll see a nice display of your icons.

xcode docker iphone icon animal labs docker

Android Method

Android is not quite as automated but works well. Dig around in the ‘config.js’ file and you’ll find where the sizes and names are specified. I’ve included the correct format for React Native as of version 0.55.3.

Master icon is copied and resized in the working directory ‘temp_output’ and the generated files and folders are copied deep into the Android hierarchy.

Check out android/app/src/main/res/ to see the results.

Revisions

A slick npm package of this setup would be nice. Just haven’t gotten around to setting all that up. It’s open source and working well enough as is but of course a little annoying and manual to clone directly into the project repo. Of course, this is open source so feel free to pitch in with changes 😉

Before you go…

If you or your company needs somebody with mobile development chops, come chat with us. We have React Native developers ready to help you out today.

You can stay informed on all of our posts by subscribing at the bottom of this page.